Setting Up a Neutral-Posture Workstation: The OSHA-Based Checklist
A step-by-step setup for a neutral-posture workstation, built on OSHA's computer-workstation guidance. Monitor height, viewing distance, elbow angle, and the order you should adjust things in for a pain-free 8-hour day.
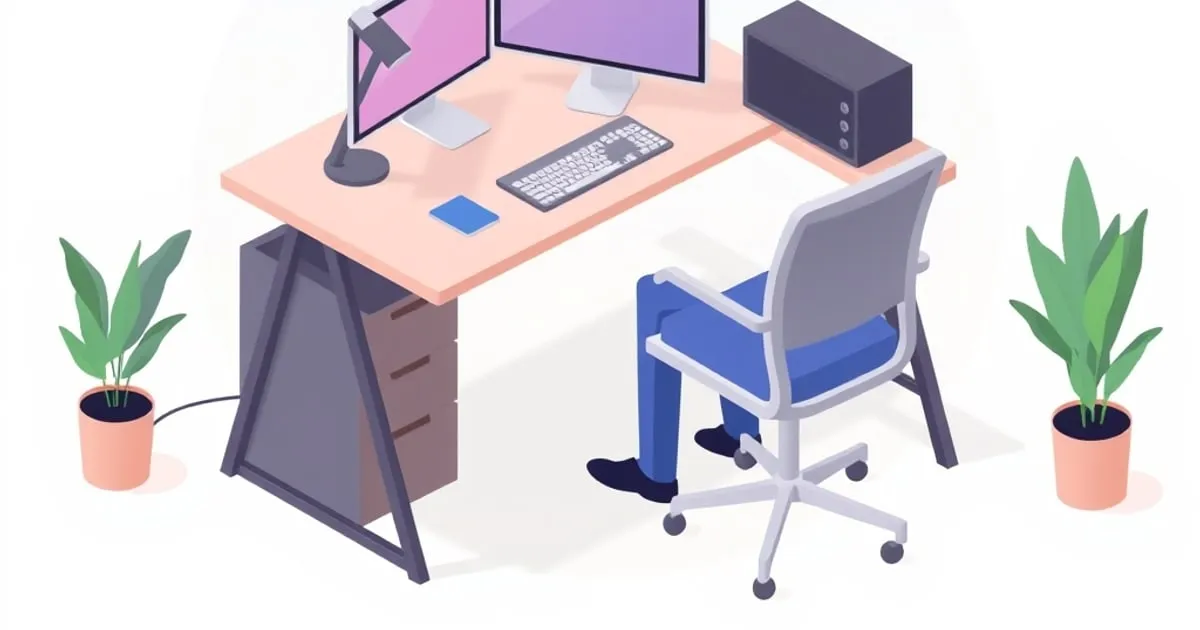
Most home office pain isn’t caused by a bad chair or a cheap desk. It’s caused by a good chair and a good desk set up in the wrong order, so your monitor is too low, your elbows are too high, and your wrists bend up to reach the keys. The fix costs nothing — it’s a sequence of adjustments, and the sequence matters.
This is the setup checklist we recommend across the ErgoRanker network, built on OSHA’s computer-workstation guidance ↗ rather than vibes. Work top to bottom; each step depends on the one before it.
What “Neutral Posture” Actually Means
Per OSHA, a neutral working posture is one where stress on muscles, tendons, and the skeletal system is minimized. Concretely:
- Head level, forward-facing, and balanced over the spine.
- Shoulders relaxed; upper arms hang naturally at your sides.
- Elbows close to the body, bent between 90 and 120 degrees.
- Wrists and forearms straight, in-line, and roughly parallel to the floor.
- Feet flat on the floor (or a footrest), with thighs roughly parallel to the floor.
Every step below exists to put one body part into that position. Adjust in this order: chair, then desk height, then keyboard/mouse, then monitor.
Step 1: Set the Chair First
Your chair is the foundation — set it before anything else, because desk and monitor heights are measured from your seated position.
- Seat height: raise or lower until your thighs are roughly parallel to the floor and your feet rest flat. If your feet dangle, the seat is too high; either lower it or add a footrest (more below).
- Seat depth: leave roughly two to three fingers’ width between the front edge of the seat and the back of your knees. Too deep and the edge presses your calves; too shallow and your thighs aren’t supported.
- Lumbar support: adjust the lumbar height so it fills the inward curve of your lower back. You should feel gentle support, not a shove.
- Armrests: set them so your shoulders relax and your elbows rest at that 90–120° angle without hunching or reaching.
See our ergonomic chair categories comparison if you’re still choosing a chair.
Step 2: Set Desk (or Keyboard) Height
With the chair set, your elbows define the correct keyboard height. Your forearms should be roughly parallel to the floor when typing, elbows bent in the 90–120° window.
- If your desk is fixed-height and too tall, you’ll raise your shoulders to reach it — fix this with a keyboard tray ↗ that drops the keys a few inches below the desktop.
- If you have a sit-stand desk ↗, set the seated height to your elbow line now; you’ll set the standing height the same way later (elbow-relative, not a fixed number).
The keyboard height is dictated by your elbows, not by the desk. The desk just has to get the keyboard there.
Step 3: Position Keyboard and Mouse
- Place the keyboard directly in front of you so your forearms stay parallel to the floor and your wrists stay straight — not bent up, down, or sideways.
- Keep the mouse on the same surface and at the same height, close enough that you don’t reach for it (reaching rotates the shoulder out of neutral).
- If your wrists bend upward to reach the keys, the keyboard is too high — lower it, or use the tray from Step 2. Wrist supports help maintain a neutral angle during pauses but aren’t a fix for a too-high keyboard.
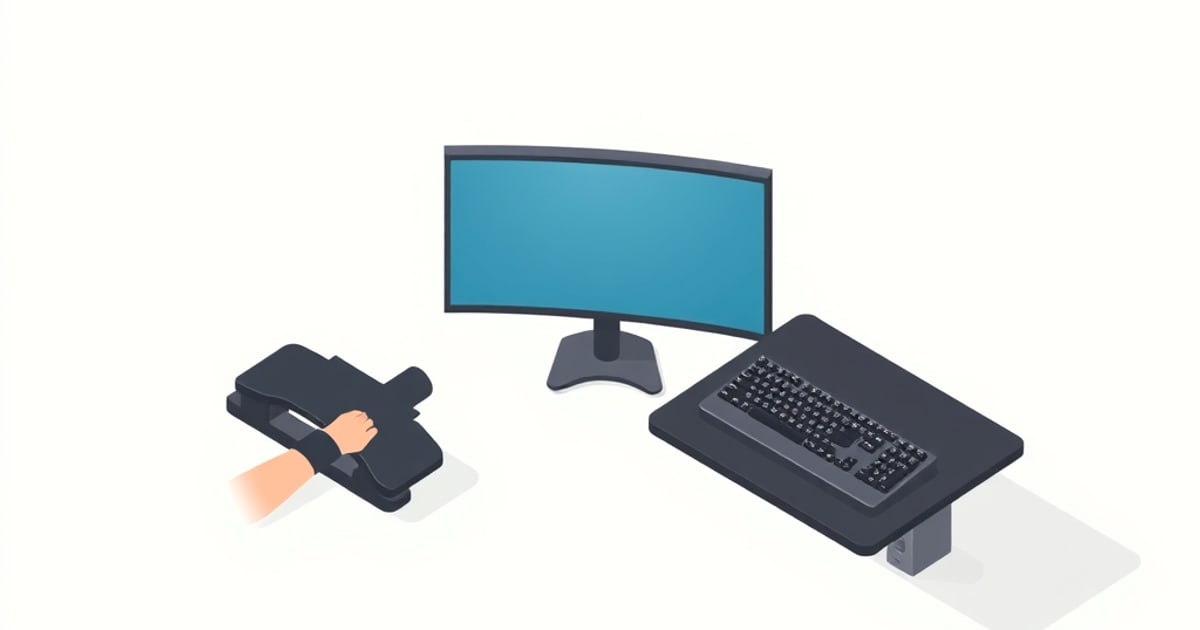
Step 4: Position the Monitor
This is the step most people get wrong, and it’s why a monitor arm or riser is so often necessary — most stock stands sit several inches too low.
Per OSHA’s monitor guidance ↗:
- Viewing distance: 20 to 40 inches from your eyes to the screen surface. A quick proxy: arm’s length. Too close strains convergence; too far makes you lean in.
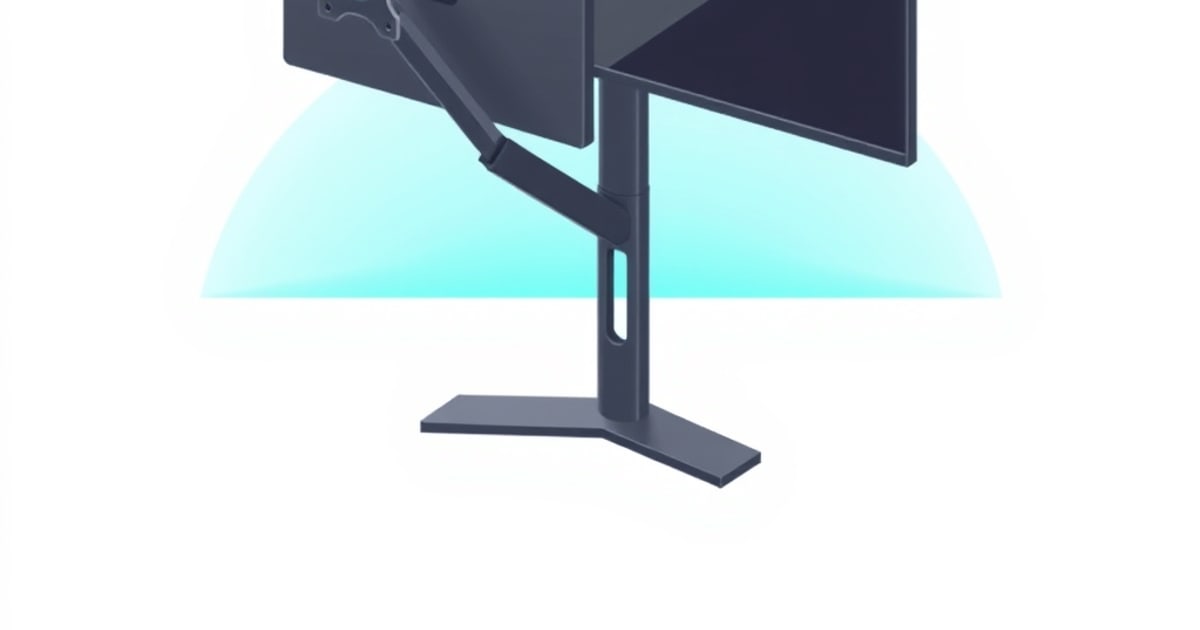
- Height: the top of the screen should be at or slightly below eye level, with the screen center roughly 15–20° below horizontal eye level. You look slightly down at the middle of the screen, never up.
- Tilt: tilt the screen so it’s perpendicular to your line of sight — usually no more than 10–20° of backward tilt.
The test: sit upright, close your eyes, then open them looking straight ahead. Your gaze should land on the top third of the screen. If you’re looking at the top edge or above, the monitor is too low.
Step 5: Feet and Lower Body
If your chair is at the right height for your elbows but your feet now dangle, you need a footrest. A footrest prevents lower-back compression and poor hip alignment when your feet can’t reach the floor at the correct seat height. Look for one that adjusts in angle — many tilt up to about 30° — so you can shift foot position through the day.
For standing ↗ portions of the day, an anti-fatigue mat matters: standing on a hard floor without one tends to bring on foot and lower-back fatigue within 20–30 minutes.
Step 6: Build Movement In
Neutral posture is the best position, not a position to freeze in. The healthiest workstation is one you change throughout the day:
- Alternate sitting and standing if you have the desk for it.
- Stand, stretch, or walk briefly at least once an hour.
- Vary your seated posture rather than holding one “perfect” pose rigidly.
A neutral setup reduces baseline strain; movement keeps tissues from loading in any single way for too long.
The One-Page Checklist
- Thighs parallel to floor, feet flat (or on a footrest)
- Seat depth leaves 2–3 fingers behind the knees
- Lumbar fills the lower-back curve
- Elbows bent 90–120°, shoulders relaxed, armrests supporting
- Forearms/wrists parallel to floor and straight while typing
- Keyboard and mouse directly in front, no reaching
- Monitor 20–40 inches away
- Screen top at or just below eye level, center 15–20° down
- Screen tilted ≤20° to be perpendicular to your gaze
- A plan to move every hour
Cross-Network Reading
- For the monitor positioning hardware: MonitorArmGuide ↗
- For the sit-stand desk this is built around: StandDeskReview ↗
- For the full home office build: HomeDeskGuide ↗
Related Reading on ErgoRanker
Final Word
Good gear set up in the wrong order still hurts. Set the chair to your body, the keyboard to your elbows, the monitor to your eyes — in that sequence — and build movement into the day. The adjustments are free; the difference at hour eight is not.
Related

Footrests and Anti-Fatigue Mats Ranked: The Floor-Level Ergonomics
The under-desk gear nobody photographs but everybody feels by hour six. Footrests and anti-fatigue mats ranked by who needs them, the specs that matter, and the buyers who can skip them entirely.
Wrist and Forearm Support Options Compared: Rests, Trays, and Angles
Wrist rests, forearm supports, keyboard trays, and tilt adjustments ranked by what they actually fix. The honest answer is that most wrist pain is a keyboard-height problem, not a missing wrist rest.
Monitor Arm vs Monitor Stand: Which Does Your Setup Need?
Monitor arm or monitor stand? We rank by ergonomic value, desk space recovery, sit-stand compatibility, and price. The short answer is 'usually an arm' — but here are the cases where a stand wins.